Add custom field values
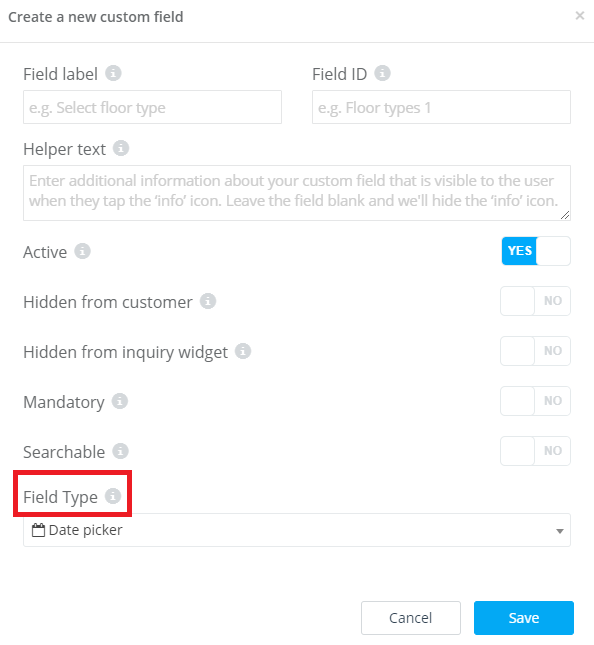
When creating a new custom field , you have to choose the type of this custom field. There are different types of custom fields. Some fields will require a drop down box for the user to select an option whereas others require a text field for the user to type in information. When you add a custom field, you need to determine the type of this field. Types of custom fields are: date picker, text box (multiline), text field (one line), toggle (yes or no), dropdown, checkbox, (+/-) button, list General overview.
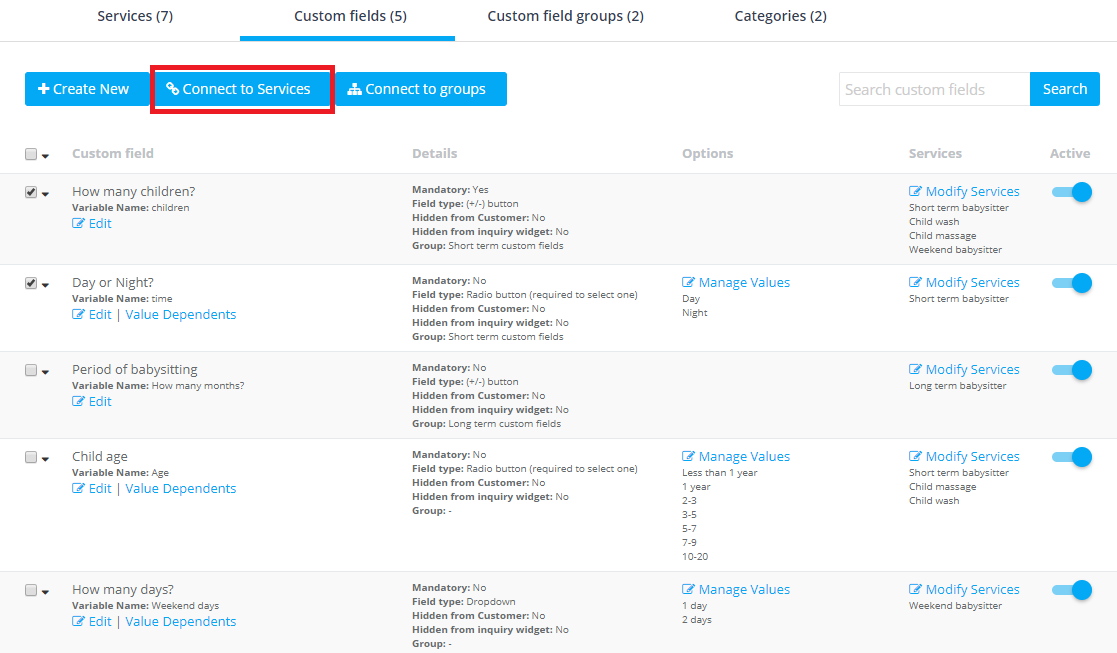
If a custom field has a number of options available to the user, for example, a drop down box or multi-select, you need to add the values that are available as options to the user. The required fields will appear for you to add these values according to the custom field type you chose. To do this:
- Go to Settings
- Select Service Settings
- Select Custom Fields
- Click Create Custom Field
- Fill in the fields with your custom field details
- Choose the custom field type you want and the required fields will appear for you to add the values
 7. Enter the value
8. Repeat until you have added all values available to users for this custom field
9. Press Save
This screen shot is when the custom field type is a drop down.
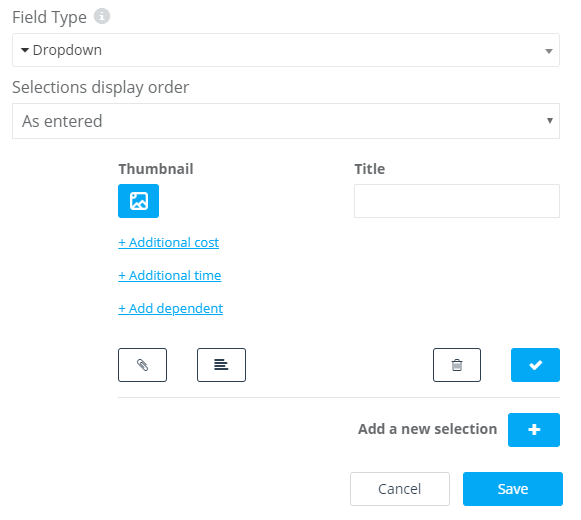
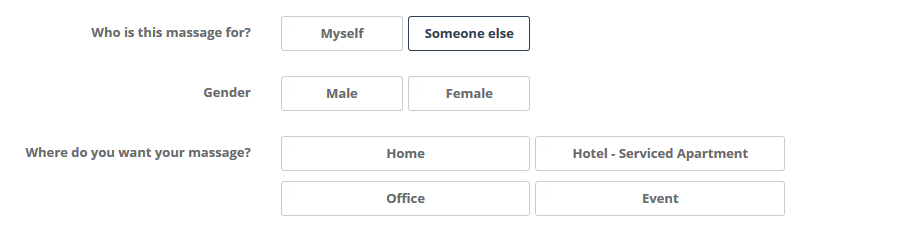
Write the value name in Title. If this value has its own price and choosing it will affect the service original price, then add the additional cost per unit to be applied when calculating the price in Default additional cost. Add the additional time required when choosing this value in Additional Time. If there is another custom field that its visibility depends on choosing this value, you can link this value to that custom field by clicking on Add dependent and choose the wanted custom field so if the customer chooses this value as an answer, then the custom field that depends on this answer will appear for the customer to answer too. For example, you can add “who is this service for?” as a custom field and add these values for the customer to choose from: (myself, or someone else). If the customer chooses “someone else”, you can link that value to another custom filed to ask about the gender. The following screen shot can clarify that.

 Then add all the other values the same way by pressing Add a new selection.
This screen shot is when the custom field type is a a (+/-) button.